You have an Autodesk Civil 3D drawing, and you want to share it with someone who only has plain AutoCAD, an older version of AutoCAD, or maybe Revit, MicroStation, or other CAD.
This comes up all the time. Civil 3D objects do not show up in older versions or in software that only understands basic AutoCAD entities. Surfaces, corridors, pipes, and feature lines live as AEC objects. They need to be converted before others can see them.
The goal is simple. Give people a drawing they can open and work with.
Here are the most common ways to convert a Civil 3D drawing to a standard AutoCAD format.
From Civil 3D, Use the Export Civil 3D Drawing command
Type EXPORTC3DDRAWING in the command line.

This creates a clean’ish AutoCAD version of the file. It strips Civil 3D objects down to plain AutoCAD geometry. You can control how the objects get flattened or exploded. The result is a drawing that anyone with AutoCAD can open.

You can even choose to export to MicroStation DGN format. I personally do not like exchanging files between these two platforms (either direction DWG<->DGN) as they are drastically different, and many times file conversions lead to issues down the road.


This is the most direct method when you do not need to keep any smart Civil 3D behavior.
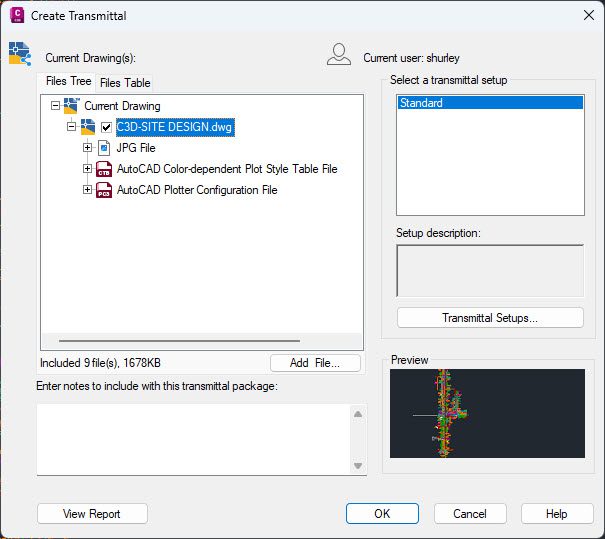
Use an eTransmit setup with exploded AEC objects

Type ETRANSMIT in the command line.
Create a transmittal setup and choose the AutoCAD 2018 format with exploded AEC objects. This setting keeps your reference structure intact. It also gives you a chance to purge the drawing and bundle all the files.

This is helpful when you need to send a full project package with sheets, xrefs, and resources.
Use the Object Enabler and Export To AutoCAD
Install the matching Civil 3D Object Enabler on the machine.
Type EXPORTTOAUTOCAD in the command line.
This creates a 2D version of the current view. Feature lines, surfaces, and other AEC objects become basic AutoCAD geometry. This method is quick and works well for people who only need what they see on the screen.
Picking the right option
Use EXPORTC3DDRAWING when you want the simplest output.
Use ETRANSMIT when you need to send the entire project and keep the structure in place.
Use EXPORTTOAUTOCAD when you only need a clean 2D snapshot of what is on your screen.These tools save time and avoid the common support calls where someone opens a drawing and sees boxes or missing geometry. A little prep on the Civil 3D side keeps everyone moving.